
Garden Planning Before the First Seed Goes In
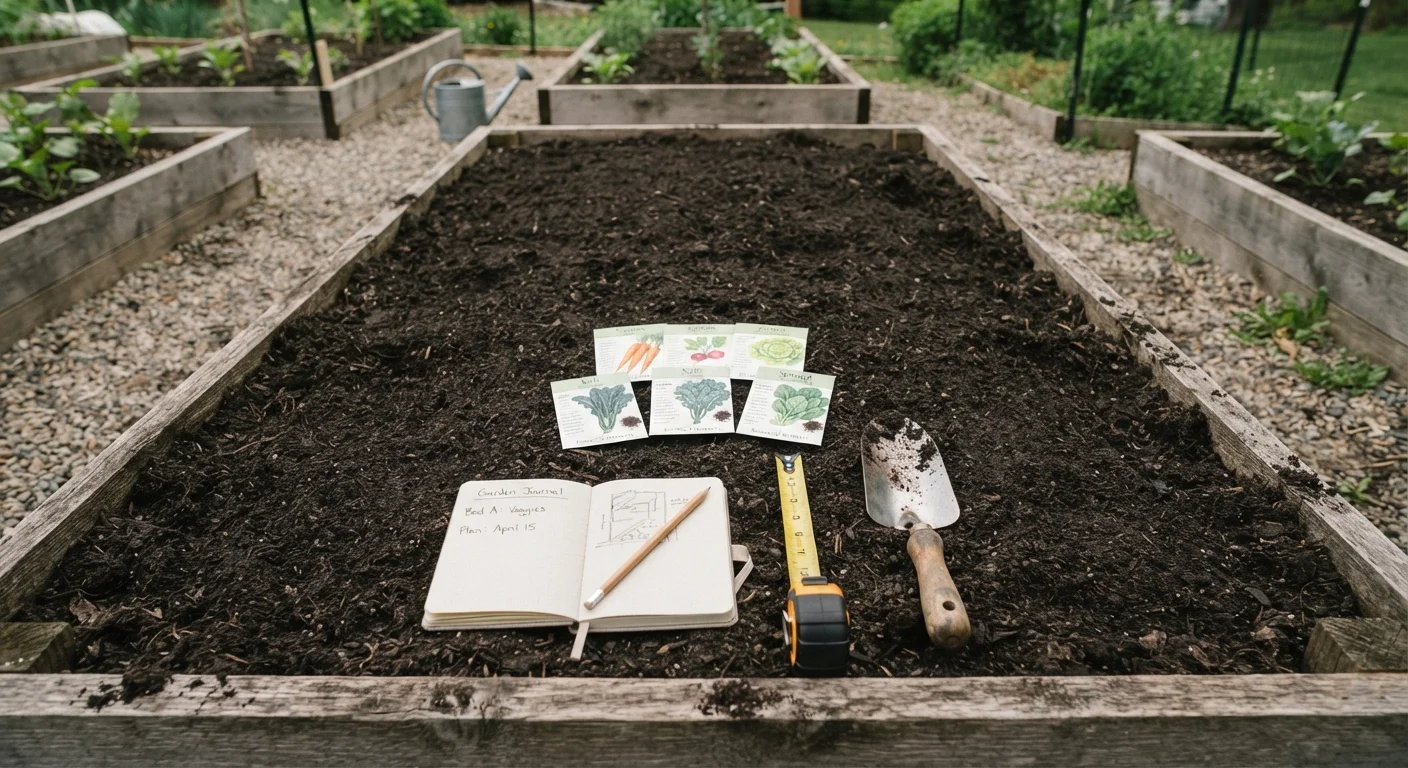
Photo credit: Glowwwatch.com
In this article
Use this step-by-step checklist to assess sunlight, soil, spacing, and water access before you plant anything in your garden.
Key Takeaways
- Sunlight is the single most important site factor — most vegetables need at least 6 hours of direct sun daily.
- Soil quality determines plant health more than any other input; test and amend before you plant.
- Water access within reach of your garden bed prevents the most common reason new gardens fail.
- Knowing your USDA hardiness zone and last frost date shapes every planting decision you make.
- Spacing and layout planning prevents overcrowding, disease, and wasted effort later in the season.
Why Planning Comes Before Planting
Every successful garden starts not with seeds or transplants, but with a clear-eyed look at the space you have. Skipping the planning stage is the most reliable way to waste a season — buying plants that hate your soil, placing sun-loving tomatoes in a shaded corner, or discovering mid-July that your hose doesn't reach the back bed. This checklist walks you through every factor worth evaluating before a single seed goes into the ground.
If you're brand new to gardening, you may also want to read our primer for complete beginners, which covers the big-picture decisions that shape your first garden. This checklist is designed to complement that foundation with a concrete, step-by-step audit you can use right in your yard.
Plan the Site Before Buying Plants
It's tempting to buy plants first and find a spot for them later — but this approach frequently leads to plants placed in the wrong light conditions or soil type. Commit your site assessment first, then choose plants that match what your garden can realistically provide. This single shift is what separates gardens that thrive from gardens that struggle through the season.
What You'll Need to Work Through This Checklist
Most of these tasks require nothing more than time and observation. A few items — particularly soil testing and layout planning — benefit from simple tools you likely already own or can find at any hardware or garden center. Gather these before you begin so you can move through the checklist in a single focused session.
Soil test kit
Measures soil pH and basic nutrient levels so you know what amendments your garden actually needs.
Measuring tape
Lets you accurately size your bed and plan spacing between plants before anything goes in the ground.
Graph paper or garden planning notebook
Helps you sketch your layout to scale so you can visualize spacing and avoid overcrowding.
Compost or aged organic matter
Improves soil structure, drainage, and fertility before planting.
Garden stakes or twine
Marks bed boundaries and plant rows so layout decisions made on paper translate accurately to the ground.
Working Through the Checklist
Work through each group in order — site assessment and soil evaluation come first because those findings directly shape every decision that follows. There's no benefit to planning plant spacing before you know whether the spot gets enough sun, or selecting varieties before you've tested your soil's pH.
Understanding what's already in your soil is especially important. For a deeper look at soil texture, pH, and organic matter, see our guide Soil 101: What's Actually in Your Garden Bed and Why It Matters. Once your site and soil assessments are complete, climate and timing decisions follow naturally, and layout planning becomes the final step rather than a premature guess.
Site Assessment
Soil Preparation
Climate & Timing
Water & Access
Layout & Plant Selection
Don't Skip the Soil Test
Many first-time gardeners amend soil by guessing, adding lime or fertilizer without knowing whether it's needed. Applying the wrong amendment can lock out nutrients rather than add them. A basic soil test — available through most cooperative extension offices for a modest fee — removes the guesswork entirely.
Frost Dates Vary by Microclimate
Published last frost dates are averages for a region, not guarantees for your specific yard. Low-lying spots, areas near large paved surfaces, or north-facing slopes can experience frost days or even weeks after the average date. When in doubt, wait a little longer before setting out frost-sensitive transplants.
After the Checklist: Choosing How to Plant
Once you've confirmed your site conditions, amended your soil, and mapped out a planting layout, you're ready to decide how plants will actually go into the ground. Whether you start from seed or purchase transplants is a meaningful choice that affects your timeline, cost, and level of involvement. Our article Seeds vs. Transplants: Which Starting Method Actually Works Better? walks through the trade-offs so you can make the right call for your schedule and garden goals.
If you're working with a patio, balcony, or limited outdoor space, the same planning principles apply — but containers introduce their own considerations around drainage and soil volume. See Container Gardening: Growing Plants Almost Anywhere for guidance tailored to that setup. The time you invest in planning now pays dividends every week of the growing season.

Author
Home & Garden Editorial Team
Home & Garden Editorial Team is the collective byline for our editorial team and contributor network. Articles published under this byline or an editorial pen name are researched, written, and reviewed according to our editorial standards for clarity, consistency, and independence before publication.
View all articles →