
Composting at Home: Turning Kitchen Scraps Into Garden Gold
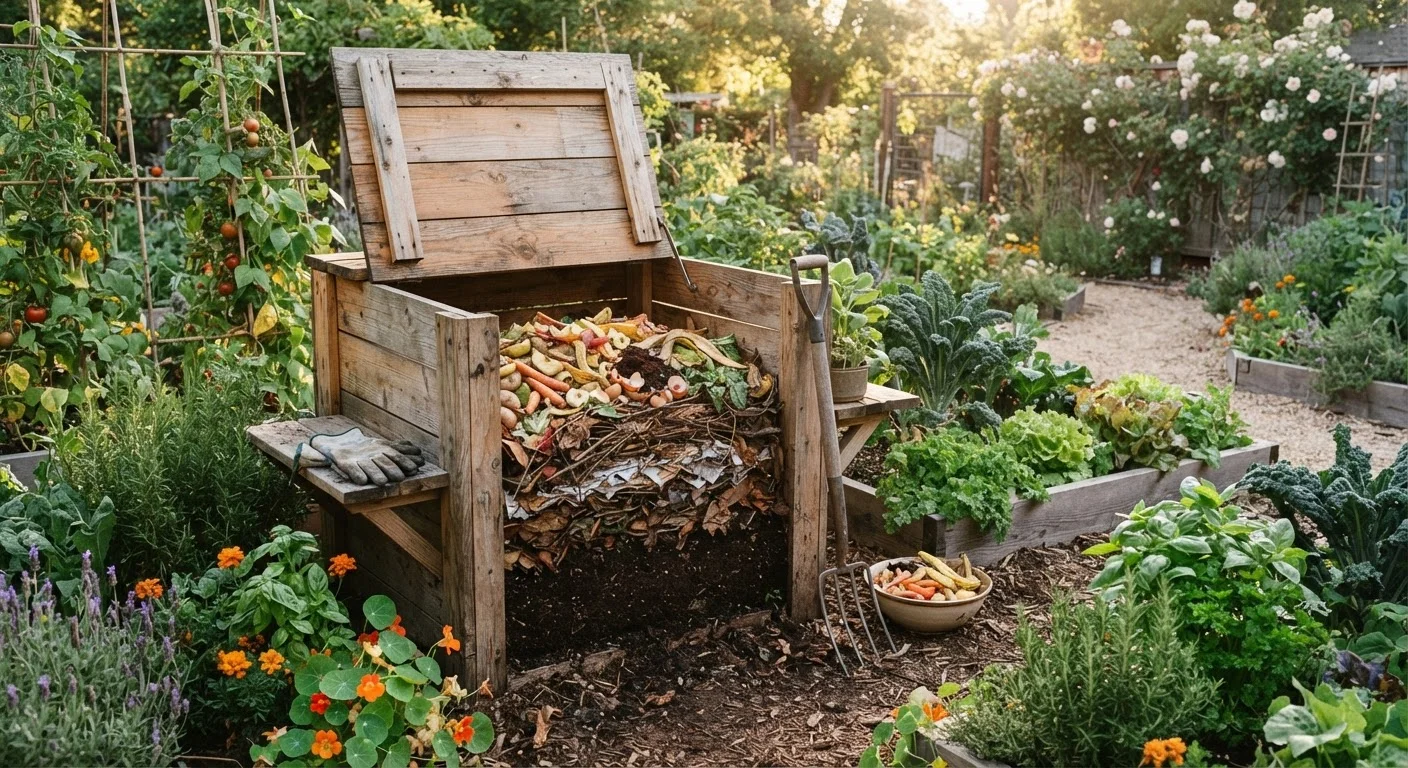
Photo credit: Glowwwatch.com
In this article
Learn how composting works, what materials to use, and how to build a simple pile or bin that produces rich, usable compost for your garden.
Key Takeaways
- Composting requires balancing 'green' nitrogen-rich materials and 'brown' carbon-rich materials.
- Most kitchen scraps — fruit peels, coffee grounds, vegetable trimmings — are compostable.
- Moisture, airflow, and regular turning speed up decomposition significantly.
- Finished compost typically takes two to six months depending on conditions.
- Compost improves soil structure, drainage, and nutrient availability for plants.
Why Composting Is Worth the Effort
Composting is one of the highest-return habits a home gardener can develop. Instead of sending vegetable peels and coffee grounds to a landfill, you redirect them into a slow-cooking biological process that produces humus — a dark, crumbly, nutrient-dense material that dramatically improves garden soil. Understanding what healthy soil is made of helps explain why compost matters so much: it adds organic matter, feeds soil microbes, improves drainage in clay soils, and helps sandy soils retain moisture.
The process itself is straightforward. Microorganisms — bacteria, fungi, and other decomposers — break down organic matter when given the right balance of carbon, nitrogen, moisture, and oxygen. Your job is simply to provide those conditions. If you're starting a garden from scratch, building a compost pile at the same time gives you a steady supply of amendment before your first planting season.
Start Small and Build the Habit
You don't need a large yard or a perfect system to compost successfully. Even a small countertop bin for scraps, combined with a compact outdoor tumbler, can produce usable compost. Focus on consistency — adding scraps regularly and covering them with browns — rather than on perfection. A simple routine beats an elaborate setup you rarely use.
What to Compost — and What to Leave Out
Compost ingredients fall into two categories. Greens are nitrogen-rich materials that fuel microbial activity: fruit and vegetable scraps, coffee grounds and filters, tea bags (paper ones), fresh grass clippings, and plant trimmings. Browns are carbon-rich materials that create structure and airflow: dry leaves, cardboard torn into small pieces, newspaper, paper egg cartons, and straw. A working pile needs roughly two to three parts browns for every one part greens by volume.
Items to keep out include meat, fish, dairy, oily or cooked foods, pet waste, and diseased plant material. These either attract pests or introduce pathogens that a home pile may not reach temperatures high enough to destroy. Some common gardening claims — like adding large amounts of coffee grounds to acidify soil — aren't well supported by evidence; see our roundup of garden myths for a closer look at what actually holds up.
Avoid These Common Additions
Meat, fish, dairy, oily foods, and pet waste should never go into a home compost pile. They can attract rodents and other pests, and may introduce harmful pathogens. Diseased plant material — leaves or stems showing signs of fungal or bacterial infection — should go in the trash, not the pile, to avoid spreading disease back to your garden when you apply the finished compost.
Setting Up Your Compost System
You have two practical options: an open pile or a contained bin. An open pile works well if you have yard space and aren't concerned about aesthetics. A bin — purchased or built from four wooden pallets or wire mesh — keeps materials tidy, retains heat more efficiently, and is easier to manage in smaller yards. Place either option on bare soil (not concrete), in a partly shaded spot with easy access to a water source.
What you will need
Choose and prepare your composting spot or bin
Select a location on bare soil that is convenient to your kitchen door and receives partial shade. If using a bin, assemble it or position a purchased tumbler on a level surface. If building an open pile, mark out an area at least 3 feet wide by 3 feet deep — this minimum mass generates enough internal heat for active decomposition.
Lay a base layer of coarse browns
Start with a 4–6 inch layer of coarse brown material — wood chips, straw, or broken-up cardboard — directly on the soil. This base layer improves drainage and airflow from the bottom up, which helps prevent the pile from becoming a soggy, airless mass.
Add your first green layer
Add a 2–3 inch layer of green material: vegetable peelings, fruit scraps, coffee grounds, or fresh grass clippings. Spread it evenly rather than dumping it in one spot. Concentrated greens can mat together and block airflow, slowing decomposition and creating odors.
Cover greens with another brown layer
Top each green layer with twice as much brown material. This 2:1 brown-to-green ratio by volume is the most reliable starting point for home composters. It balances carbon and nitrogen, controls moisture, and reduces the chance of odor. Repeat this layering pattern each time you add new kitchen scraps.
Monitor and adjust moisture
Check moisture every week or two by squeezing a handful of material from the middle of the pile. It should feel like a wrung-out sponge — damp but not dripping. If it's too dry, sprinkle water and turn; if it's too wet and smells sour, add more browns and turn thoroughly to introduce oxygen.
Turn the pile regularly
Use a pitchfork or compost aerator to turn the pile every one to two weeks, moving outer material toward the center where temperatures are highest. Turning introduces oxygen, which microbial decomposers need to thrive. More frequent turning means faster compost — a well-managed pile can be ready in as little as two months; a neglected one may take a year or more.
Recognize finished compost and use it
Finished compost is dark brown, crumbly, and smells like fresh earth — not like rotting food. You should not be able to recognize the original ingredients. Screen out any large unfinished chunks and return them to the active pile. Apply finished compost to garden beds at a rate of 1–3 inches worked into the top few inches of soil, or use it as a surface top dressing around plants.
Once you have finished compost, work it into garden beds, use it as a top dressing around established plants, or mix it into container soil. It pairs well with a regular mulching routine — compost feeds the soil while mulch protects the surface. If you grow food, composting also closes the loop from your kitchen prep habits back to the garden.

Author
Home & Garden Editorial Team
Home & Garden Editorial Team is the collective byline for our editorial team and contributor network. Articles published under this byline or an editorial pen name are researched, written, and reviewed according to our editorial standards for clarity, consistency, and independence before publication.
View all articles →