
The Real Reason Your Garlic Burns Before the Onion Is Ready
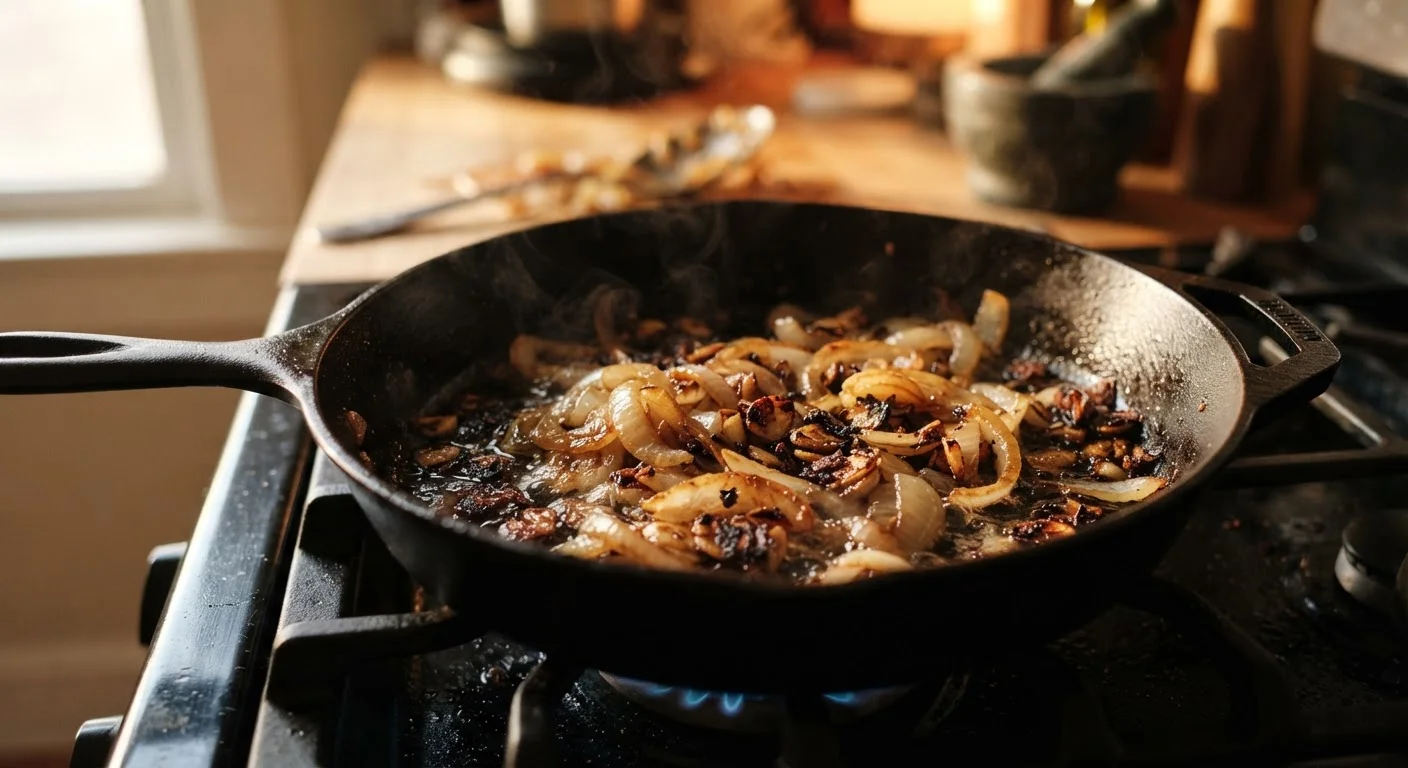
Photo credit: Glowwwatch.com
In this article
Timing aromatics is one of the trickiest parts of cooking. Learn why garlic scorches so fast and how to sequence your ingredients correctly.
Key Takeaways
- Garlic burns faster than onion because it has far less water content and more natural sugars.
- Adding garlic too early — when onions still need several more minutes — is the most common sequencing mistake.
- Lowering heat before adding garlic gives you control and dramatically reduces the risk of scorching.
- Minced garlic burns faster than sliced garlic; match your cut to your cooking time.
- A bitter, acrid smell is your signal that garlic has crossed from toasted to burned.
Why Garlic and Onion Cook So Differently
Garlic and onion are teammates in countless recipes, but they have very different relationships with heat. Understanding that difference is the first step to cooking them well.
Onions are dense and loaded with water — roughly 89% by weight. That moisture acts as a natural buffer, absorbing and dissipating heat as it evaporates. As a result, onions take time — often 8 to 15 minutes — to soften, turn translucent, and develop sweetness through caramelization.
Garlic, by contrast, contains far less water and a higher concentration of natural sugars relative to its small mass. When those sugars hit a hot pan, they brown rapidly through a process called the Maillard reaction (the same chemical browning that gives seared meat its crust). Without enough moisture to slow things down, garlic can go from raw to golden in under a minute — and from golden to burnt in seconds after that.
This is not a flaw in your garlic. It is simply physics. Pan temperature plays a central role in how quickly each ingredient reacts, and garlic is exquisitely sensitive to it.
The Most Common Mistakes Cooks Make With Garlic
Once you understand the chemistry, the typical errors become obvious. Here are the mistakes that cause burned garlic most often — and how to fix them.
Adding garlic at the same time as onion.
Why it happens: Recipes often list aromatics together, and beginners assume they cook at the same rate.
Using high heat throughout the entire sauté.
Why it happens: Cooks assume high heat means faster, better results — and it does help onions along. But garlic needs a gentler environment.
Walking away from the pan after adding garlic.
Why it happens: The previous steps felt slow, so attention drifts right when vigilance is most critical.
Using minced garlic in long-cooking applications without adjustment.
Why it happens: Mincing is the default prep, regardless of cooking time or method.
If you want to build better instincts about heat control overall, see our guide on heat zones and burner control.
Practical Sequencing: How to Time Your Aromatics Right
The solution is almost always about timing and temperature, not talent.
Have Your Next Ingredient Ready Before Adding Garlic
Garlic waits for no one. Before you add it to the pan, make sure your next ingredient — broth, canned tomatoes, wine, or whatever the recipe calls for — is already measured, open, and within arm's reach. Adding it immediately stops the cooking and prevents scorching. Scrambling to find a can opener while garlic sits in a hot pan is one of the fastest paths to a bitter dish.
As a general rule, start your onions (or other slow aromatics like celery, bell pepper, and leeks) over medium heat and give them the time they need. Once they are softened and approaching the color you want, reduce the heat slightly, then add garlic. From that point, stir continuously and give garlic no more than 30 to 60 seconds before adding the next ingredient — liquid, tomatoes, or whatever the recipe calls for.
The form of your garlic also matters. Minced garlic has enormous surface area and burns fastest. Thinly sliced garlic gives you a little more time. Whole or lightly smashed cloves take the longest and work well in dishes where you want a mellow, gentle garlic flavor without risk of scorching.
Reading a recipe carefully before you start will also help you plan your sequence before anything hits the pan. Our guide on reading a recipe the right way walks you through exactly what to look for.
When Garlic Burns: What to Do
Burned garlic is bitter in a way that does not mellow with more cooking — it compounds. If you smell that sharp, acrid edge, the safest move is usually to discard the contents, wipe out the pan, and start again. It is a frustrating reset, but trying to cook over burned garlic will carry that bitterness through the entire dish.
One exception: if only a few bits of garlic have darkened at the edges while the rest looks golden, you may be able to proceed. Taste a small piece. If it tastes nutty and pleasant rather than harsh, you are fine. Trust your senses over the clock.
Building these foundational instincts is part of becoming a more confident cook. For a broader look at skills that pay off across every recipe you make, explore techniques worth learning before any others.

Author
Food & Drinks Editorial Team
Food & Drinks Editorial Team is the collective byline for our editorial team and contributor network. Articles published under this byline or an editorial pen name are researched, written, and reviewed according to our editorial standards for clarity, consistency, and independence before publication.
View all articles →