
Checking Your Tire Pressure the Right Way
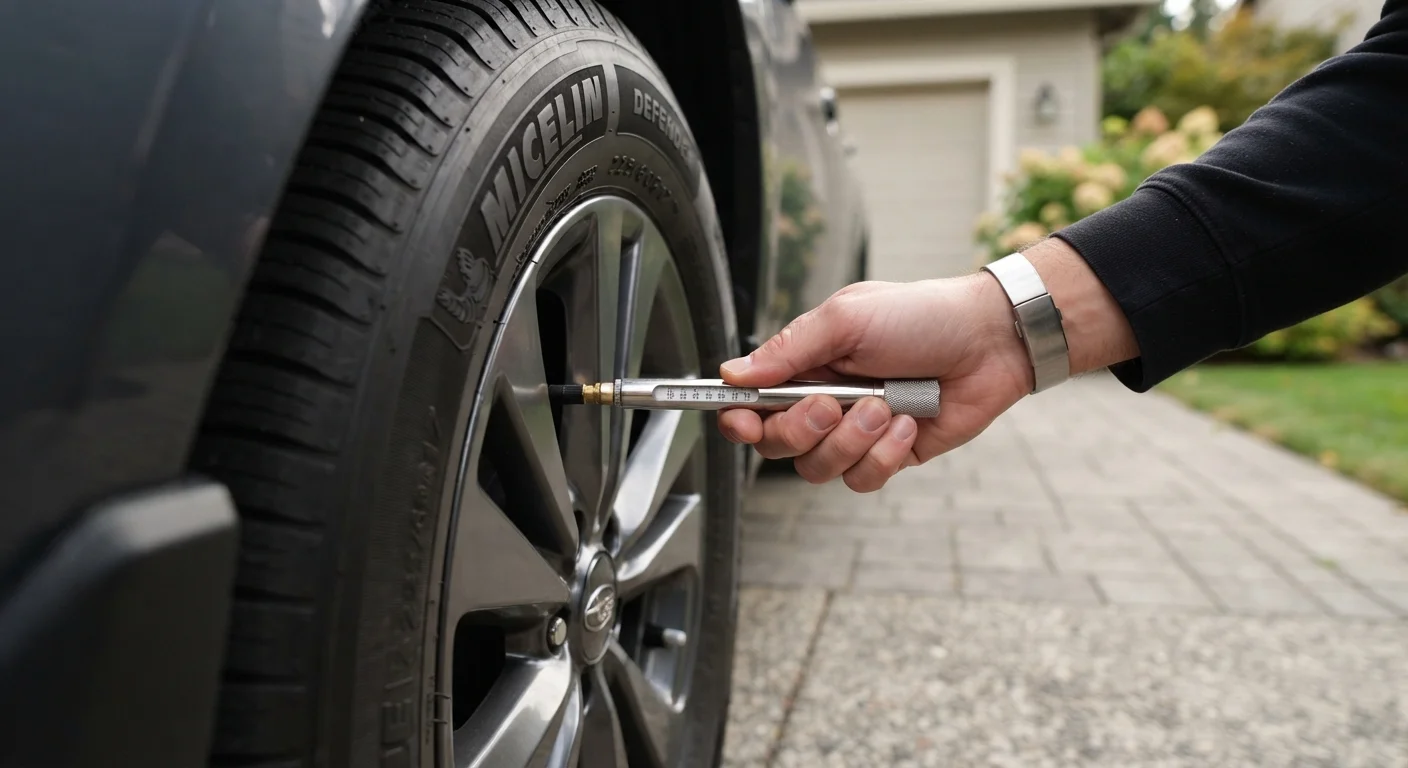
Photo credit: Glowwwatch.com
In this article
Tire pressure affects safety, fuel efficiency, and tire life. Here's a straightforward walkthrough for checking and adjusting it correctly.
Key Takeaways
- Always check tire pressure when tires are cold — before driving more than a mile or two.
- The correct pressure is listed on a sticker inside your driver's door jamb, not on the tire sidewall.
- Under-inflated tires reduce fuel efficiency and increase the risk of blowouts.
- A basic digital or stick-style gauge is all you need to check pressure accurately.
- Check all four tires plus the spare at least once a month and before long trips.
Why Tire Pressure Is Worth a Few Minutes of Your Time
Tire pressure is one of those things that's easy to overlook until something goes wrong. A tire that looks fine can actually be significantly under-inflated — tires rarely look visibly flat until they're dangerously low. That matters because incorrect pressure affects three things most drivers care about: safety, fuel economy, and how long your tires last.
Under-inflated tires flex more than they should, building up heat that can lead to a blowout at highway speeds. They also increase rolling resistance, meaning your engine works harder and you burn more fuel. Over-inflated tires, on the other hand, have a smaller contact patch with the road, which reduces traction and causes uneven wear down the center of the tread. Getting the pressure right is genuinely worth the few minutes it takes. For a broader look at habits that protect your tires over time, see our guide to getting the most life out of your tires.
Morning Is the Best Time to Check
Tire pressure reads most accurately in the morning before you've driven anywhere, because tires heat up during use and that raises the pressure reading. If you must check after driving, allow the tires to cool for at least three hours before taking a reading you intend to rely on.
What You'll Need Before You Start
The good news: this task requires almost nothing in the way of tools or preparation. Here's what to have on hand before you begin.
Tire pressure gauge
Measures the air pressure inside each tire in PSI; digital and stick-style gauges both work reliably.
Air compressor or gas station air pump
Used to add air to a tire that reads below the recommended pressure.
Valve stem caps
Small threaded caps that keep dirt and moisture out of the valve stem; replace any that are missing.
What you will need
How to Check and Adjust Your Tire Pressure
Follow these steps in order. The whole process takes five minutes once you've done it a couple of times. Tire pressure is also a standard item on any pre-trip checklist — if you're heading out on a longer drive, see our full pre-trip preparation guide for everything else worth confirming before you leave.
Find Your Vehicle's Recommended Tire Pressure
Open the driver's side door and look for a sticker on the door jamb — the area where the door latches. This sticker lists the recommended PSI (pounds per square inch) for your front and rear tires. If it's not there, check your owner's manual. Do not use the number printed on the tire sidewall — that's the maximum pressure the tire can hold, not the pressure your vehicle is designed to run on.
Remove the Valve Stem Cap
Each tire has a valve stem — a short rubber or metal tube sticking out near the wheel rim. Unscrew the small cap at the top and set it somewhere safe (a pocket works well). This exposes the valve core, which is where you'll press the gauge.
Press the Gauge Firmly onto the Valve Stem
Place the open end of your tire gauge squarely over the valve stem and press down firmly. You may hear a brief hiss of air — that's normal if the seal isn't perfectly centered. A stick gauge will push out a numbered bar; a digital gauge will display a number. Read the PSI shown and note it down.
Compare the Reading to the Recommended PSI
Compare your reading to the number from the door jamb sticker. If the tire is within 1–2 PSI of the recommended figure, it's acceptable. If it's more than 2 PSI low, add air. If it's over the recommended pressure, you'll need to release some air.
Add Air If the Pressure Is Too Low
Use an air compressor or a gas station pump to add air in short bursts, checking the pressure with your gauge after each burst. Add air slowly — it's easier to add more than to release excess. Continue until you reach the recommended PSI.
Release Air If the Pressure Is Too High
On the tip of the valve stem, there's a small metal pin in the center. Use a fingernail, a pen cap, or the back end of many stick gauges to press it in briefly. This releases air. Check the pressure again after a short release and repeat as needed until you reach the correct PSI.
Repeat for All Four Tires (and the Spare)
Work your way around the vehicle, checking and adjusting each tire. When you're done, replace all the valve stem caps by hand — finger-tight is enough. If your vehicle has a spare tire, check it as well. A flat spare is no help in an emergency.
Don't Ignore a Tire That Keeps Losing Pressure
If one tire consistently runs low between checks, that's a sign of a slow leak — possibly from a nail, a damaged valve stem, or a rim issue. Have it inspected by a qualified tire technician rather than simply topping it off repeatedly. Driving on a compromised tire carries real safety risks.
How Often Should You Check?
A good rule of thumb is once a month and before any long road trip. Tire pressure drops naturally over time — roughly 1 PSI (pound per square inch) per month under normal conditions. It also drops about 1 PSI for every 10°F drop in outside temperature, so fall and winter are especially important times to stay on top of it.
If your vehicle has a Tire Pressure Monitoring System (TPMS) — a dashboard warning light that looks like a cross-section of a tire with an exclamation point — keep in mind it only alerts you when pressure is significantly low (typically 25% below the recommended level). Don't rely on it as a substitute for regular manual checks. Tire pressure is one of the items covered in a thorough pre-trip vehicle check, and it's worth building the habit into your routine maintenance schedule. Our overview of routine car maintenance covers where it fits alongside other regular tasks.

Author
Autos Editorial Team
Autos Editorial Team is the collective byline for our editorial team and contributor network. Articles published under this byline or an editorial pen name are researched, written, and reviewed according to our editorial standards for clarity, consistency, and independence before publication.
View all articles →