
What a Pre-Trip Vehicle Check Actually Covers
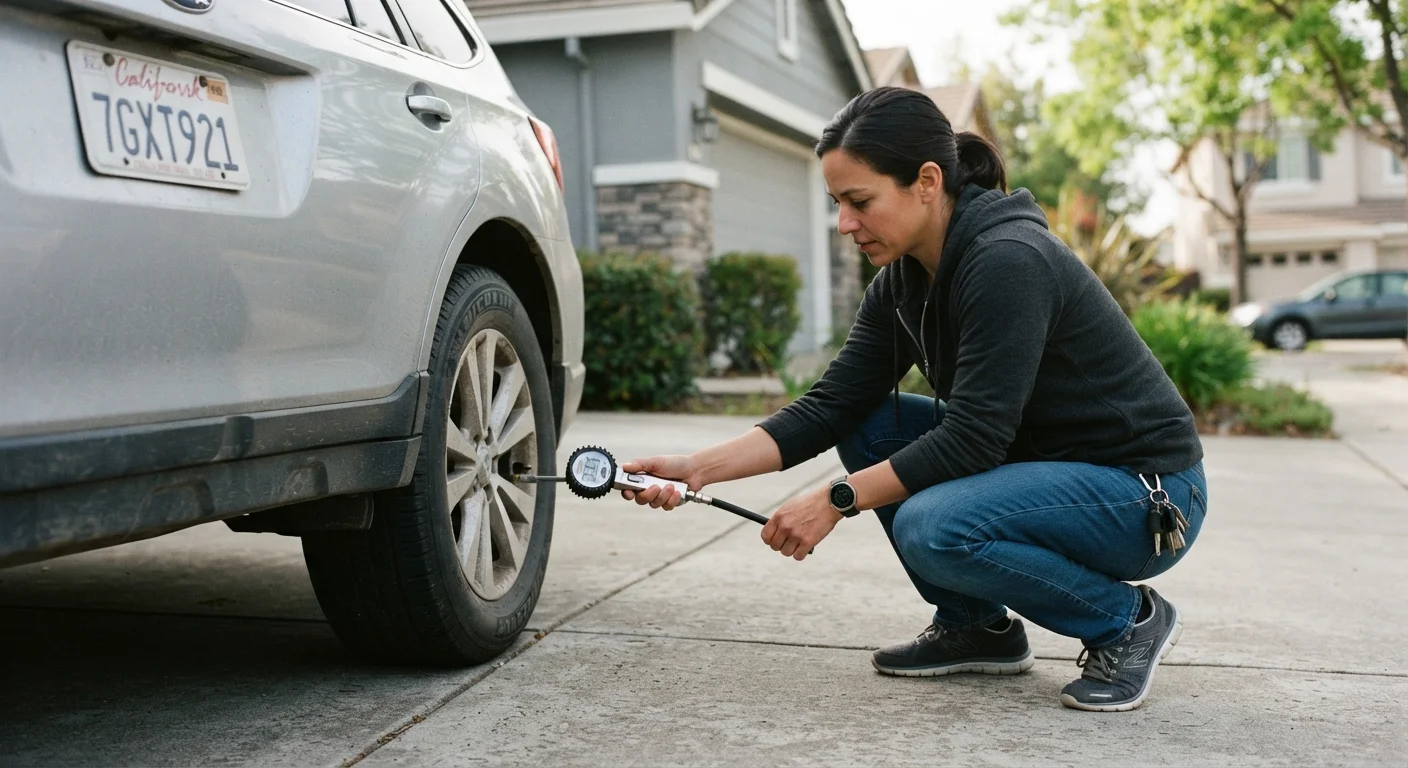
Photo credit: Glowwwatch.com
In this article
Before a long drive, a few quick checks can prevent roadside trouble. Here's exactly what to look at and how to do it safely.
Key Takeaways
- A pre-trip check takes 10–20 minutes and can prevent costly breakdowns on the road.
- Tires, fluids, lights, and brakes are the four areas that matter most before any long drive.
- Many checks require no tools — just your eyes, hands, and a tire pressure gauge.
- Catching a low fluid level or underinflated tire at home is far safer than discovering it at highway speed.
- Seasonal conditions add extra checks; hot and cold weather stress different vehicle systems.
Why Bother Before Every Trip?
Most drivers think of car maintenance as something that happens at the shop every few months. But a lot can change between appointments — a slow tire leak, a fluid that drops below its safe range, a brake light that burns out overnight. A pre-trip check bridges that gap.
This isn't about becoming a mechanic. It's about spending 10–20 minutes walking around your car with intention before a long drive, so you're not calling for a tow truck three hours later. The checks below are organized by category and flagged by priority. You don't need special skills — just your eyes, a tire pressure gauge, and a flat surface to park on.
For a broader look at keeping your vehicle in good shape between checks, see our guide to routine car maintenance. And if weather is a factor on your trip, our seasonal car care guide covers temperature-specific concerns in detail.
Don't Check Fluids on a Hot Engine
After driving, let the engine cool for at least 30 minutes before opening the hood to check fluids. Coolant in particular is pressurized when hot — opening the radiator cap on a warm engine can cause serious burns. Plan your pre-trip check for the morning before your first start, not after returning from a warm-up drive.
What You'll Need
Most of these checks require nothing more than what's already in your glove box or garage. Having the right tools on hand means you won't skip a step because you don't have what you need.
Tire pressure gauge
Measures the PSI inside each tire so you can compare it to the manufacturer's recommended pressure.
Flashlight or work light
Helps you see inside the engine bay and under the car, especially in low-light conditions.
Clean rag or paper towels
Used to wipe the oil dipstick clean before taking a reading.
Windshield washer fluid (jug)
For topping off the reservoir if it's running low before your trip.
Tread depth gauge
Gives a more precise tire tread reading than the quarter test, useful if tread is borderline.
The Full Pre-Trip Checklist
Work through these groups in order — exterior first, then under the hood, then inside the cabin. The goal is to complete a full loop around and through the vehicle before you load up and go.
Tires
Fluids
Lights and Visibility
Under the Hood and Belts
Cabin and Safety Gear
For a shorter version focused specifically on departure-day habits, this pre-trip safety checklist is a good companion. If you're heading out on a longer journey, preparing your car for a long road trip goes deeper on emergency supplies and route planning.
Brake Concerns? Don't Wait.
If your brake pedal feels soft, spongy, or travels further than usual before engaging, do not drive the vehicle until a qualified mechanic has inspected the brake system. Brakes are not a system to monitor and hope for the best — a failure at highway speed can be life-threatening. Similarly, if a brake warning light is illuminated on your dashboard, treat it as a stop-now signal, not a schedule-it-later reminder.
After the Check: What to Do If Something's Off
If you find a problem — a tire that won't hold pressure, a fluid that looks dark or is well below the minimum line, a brake pedal that feels soft — don't dismiss it and drive anyway. Some issues are safe to monitor on short local trips; others genuinely aren't safe to ignore before a highway run.
When in doubt, consult a qualified mechanic before you leave. A shop visit the day before is far less disruptive than a breakdown on the road. Keep in mind that consistent preventive habits reduce how often you'll find surprises during these checks in the first place.
More broadly, all of this fits into the habits covered in the safe driving hub — because vehicle readiness is one of the most controllable parts of road safety.

Author
Autos Editorial Team
Autos Editorial Team is the collective byline for our editorial team and contributor network. Articles published under this byline or an editorial pen name are researched, written, and reviewed according to our editorial standards for clarity, consistency, and independence before publication.
View all articles →