
What 'Low and Slow' Actually Means — And When to Use It
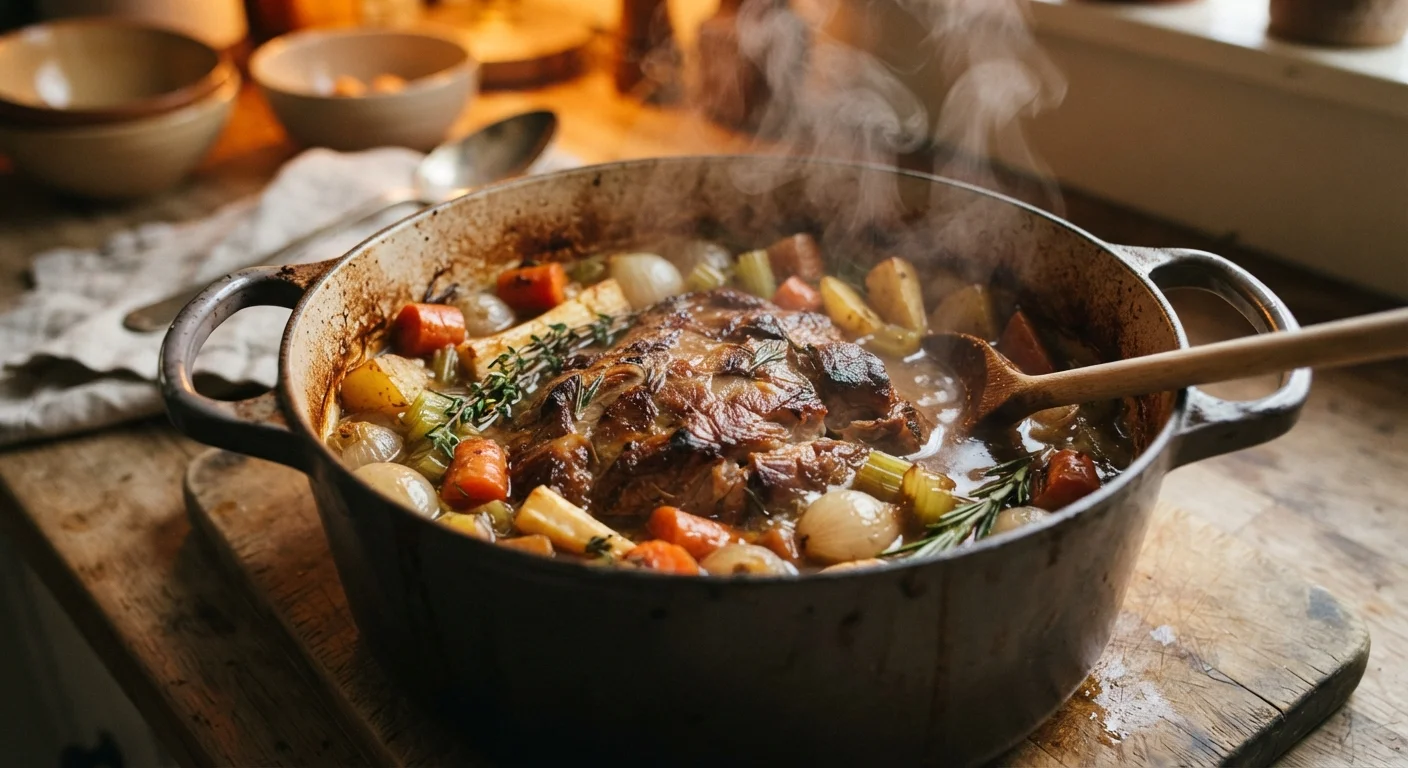
Photo credit: Glowwwatch.com
In this article
Low-and-slow cooking transforms tough cuts and develops deep flavors. Learn the science behind the method and which foods benefit most.
Key Takeaways
- Low-and-slow cooking uses temperatures between 200°F and 325°F applied over several hours.
- The method converts tough collagen in meat into gelatin, producing tender, juicy results.
- It works best on cuts with high connective tissue: brisket, short ribs, pork shoulder, and similar.
- Moisture — from braising liquid, fat, or a covered environment — is essential to success.
- High-heat cooking is better suited to naturally tender cuts like chicken breasts or fish fillets.
- An accurate oven thermometer is one of the most useful tools for this method.
The Science Behind the Method
Cooking is, at its core, applied heat — but not all heat behaves the same way. When you crank up the temperature, proteins tighten and moisture evaporates quickly. That's useful for getting a golden crust on a steak or caramelizing onions in minutes. But apply that same high heat to a tough cut of beef or pork, and you'll end up with something chewy and dry.
This is where low-and-slow earns its name. Tough cuts — think brisket, pork shoulder, lamb shank, or beef short ribs — are loaded with collagen, a fibrous protein found in connective tissue. Collagen doesn't melt away at high temperatures; it seizes up. But hold a sustained temperature between roughly 160°F and 200°F for long enough, and collagen gradually converts into gelatin. That gelatin is what gives slow-cooked meat its silky, pull-apart texture and rich mouthfeel.
Understanding this process is the foundation of foundational cooking technique — and it explains why patience is genuinely part of the recipe, not just a suggestion.
160°F–200°F
Temperature range where collagen converts to gelatin
According to food science references including Harold McGee's 'On Food and Cooking,' sustained heat in this range is what makes tough cuts become tender over time.
2–12 hours
Typical low-and-slow cooking window
Cook time varies by cut size and method — braised short ribs may need 3–4 hours while a full brisket on a smoker can take upward of 10–12 hours.
25°F–50°F
Typical home oven temperature variance
Consumer testing has consistently shown that home oven dials frequently do not match actual internal temperature, making an oven thermometer especially important for precision methods.
Which Foods Benefit Most
Not every ingredient belongs in a low-and-slow preparation. The method is most effective when the ingredient has something that needs time to transform. Here's a practical breakdown:
- Collagen-rich meat cuts: Beef brisket, pork shoulder (butt), oxtail, lamb shanks, and beef short ribs are ideal. Their high connective tissue content means they genuinely improve with time.
- Whole poultry legs and thighs: Dark meat has more connective tissue than breast meat and handles long, moist heat well without drying out.
- Dried legumes: Dried beans and lentils develop creamier texture and more complex flavor when cooked low and slow versus rushed at a boil.
- Root vegetables: Carrots, turnips, and parsnips hold their structure through long braises, absorbing surrounding flavors without turning to mush.
Conversely, lean cuts — chicken breasts, fish fillets, pork tenderloin — have little connective tissue. Extended low heat doesn't improve them; it just dries them out. For guidance on pairing the right technique to the right ingredient, see this overview of moist and dry heat methods.
How to Actually Do It: Key Practical Points
Low-and-slow cooking doesn't require special equipment for most home applications — an oven, a heavy-bottomed pot with a lid, and time are enough. Here are the factors that actually matter:
Temperature Accuracy
Home ovens can run 25°F–50°F hotter or cooler than their dials suggest. An inexpensive oven thermometer removes that guesswork. Heat control is one of the most underappreciated factors in home cooking, and this method amplifies both the rewards of getting it right and the consequences of getting it wrong.
Moisture Management
Whether you're braising in liquid or using a covered roasting environment, moisture is critical. A Dutch oven or tightly sealed roasting pan traps steam, basting the food from within throughout the cooking time. Adding aromatics — onion, garlic, herbs, wine, or stock — to the braising liquid contributes layers of flavor to the finished dish.
Don't Rush the Rest
After long cooking, letting meat rest before slicing allows juices — which migrate toward the exterior during cooking — to redistribute through the meat. Skipping the rest can cause moisture to run out the moment you cut in.
Use an Oven Thermometer Every Time
Home ovens are frequently inaccurate by 25°F or more, which can significantly affect low-and-slow results. Place an inexpensive oven thermometer on the rack you're using and set your dial to compensate. It's a small habit that makes a noticeable difference over a long cook.
Common Mistakes to Avoid
Even a forgiving method has its failure points. Watch for these:
- Starting with the wrong cut. If you apply low-and-slow to a lean, tender cut, you'll get dry, overcooked food — not fall-apart tenderness. Match the method to the meat.
- Lifting the lid repeatedly. Each time you open a covered pot or slow cooker, you release accumulated heat and steam, extending cook time and disrupting the environment your food needs.
- Skipping the sear. Browning the meat in a hot pan before slow cooking adds flavor compounds through the Maillard reaction — a heat-driven process that creates color and savory depth. This step is separate from the low-and-slow process itself but significantly improves the final result.
- Underseasoning the liquid. The braising liquid becomes your sauce. Seasoning it well at the start — and tasting as you go — means the finished dish reflects that care.
Frequently Asked Questions

Author
Food & Drinks Editorial Team
Food & Drinks Editorial Team is the collective byline for our editorial team and contributor network. Articles published under this byline or an editorial pen name are researched, written, and reviewed according to our editorial standards for clarity, consistency, and independence before publication.
View all articles →