
Why Your Bathroom Caulk Keeps Failing (and What to Do About It)
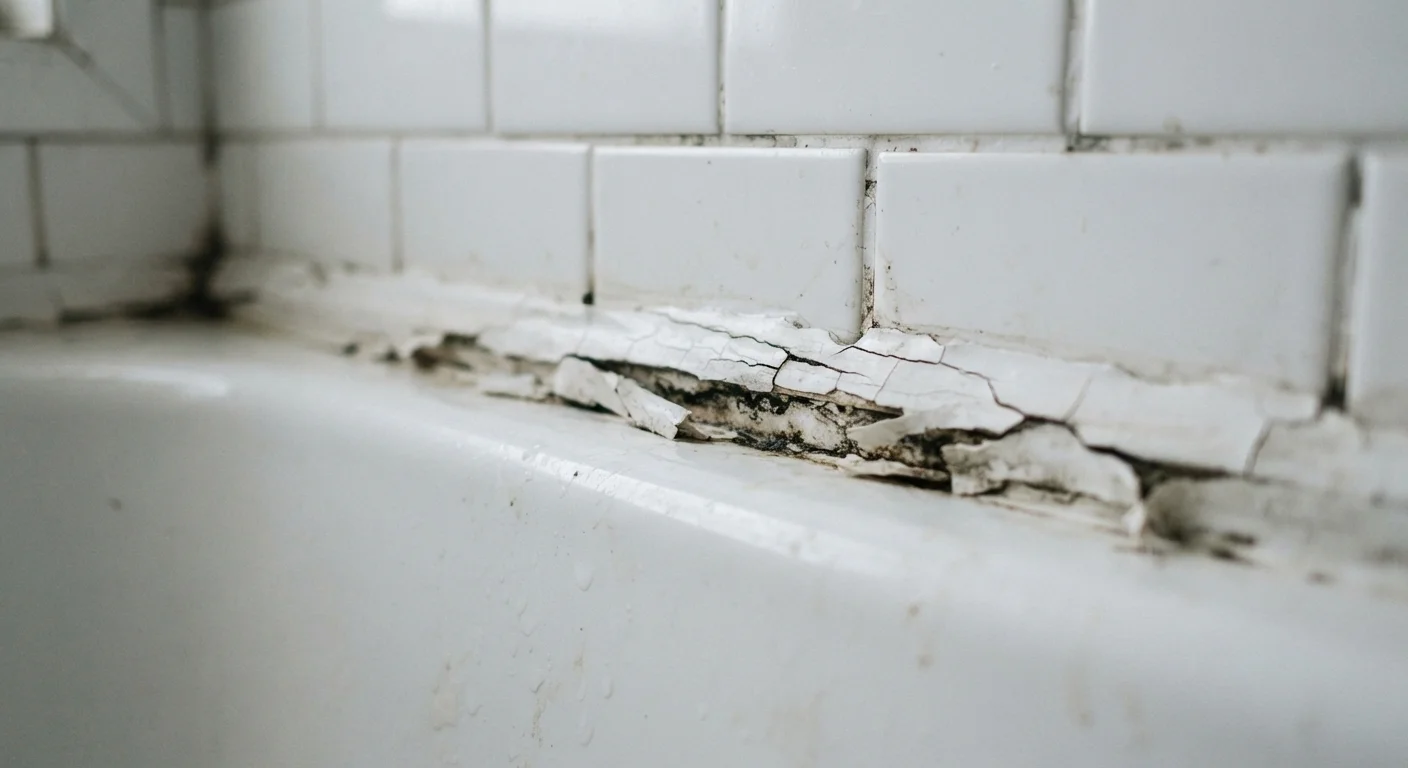
Photo credit: Glowwwatch.com
In this article
Peeling or cracking caulk isn't just unsightly—it lets moisture into walls. Learn the real reasons caulk fails and how to apply it properly.
Key Takeaways
- Caulk fails most often due to surface preparation errors, not product quality.
- Silicone caulk is the preferred choice for wet bathroom areas like tubs and showers.
- Applying new caulk over old caulk will always lead to early failure.
- Allowing full cure time—typically 24 to 48 hours—is critical before exposing caulk to water.
- Failed caulk can allow moisture into walls, leading to mold and structural damage.
Why Bathroom Caulk Fails in the First Place
Bathroom caulk—the flexible sealant that fills the joint between your tub, shower, tile, and walls—is one of the hardest-working materials in your home. It expands and contracts with temperature changes, resists constant moisture, and is exposed to soap, cleaning products, and body oils daily. Under those conditions, even well-applied caulk will eventually need replacement, typically every five to ten years.
But many homeowners find their caulk failing far sooner than that—cracking, peeling, or growing mold within months of application. In nearly every case, the culprit isn't the product itself. It's an error in preparation or technique. Understanding those errors is the fastest path to a repair that actually holds. As with most home maintenance tasks, the consequences of ignoring early signs of failure can compound quickly behind your walls.
Moisture Damage Can Be Severe and Hidden
A gap in bathroom caulk isn't just cosmetic. Water that seeps behind tile and into wall cavities can cause mold growth, rot wooden framing, and damage drywall over extended periods. Addressing failed caulk promptly helps protect your home's structure. For more on how water damage escalates, see why small water leaks become big structural problems.
The Most Common Caulking Mistakes (and How to Fix Them)
The mistakes below represent the most frequent reasons bathroom caulk fails prematurely. Each one is avoidable with the right preparation and a little patience.
Caulking over existing old caulk without removing it first.
Why it happens: Scraping out old caulk is time-consuming and tedious, so many homeowners apply a fresh bead directly on top, hoping it will stick.
Using the wrong type of caulk for a wet bathroom environment.
Why it happens: Acrylic latex caulk is widely available and easier to work with, so many homeowners reach for it without checking whether it's rated for continuous moisture exposure.
Not allowing surfaces to dry completely before applying caulk.
Why it happens: Homeowners often caulk right after cleaning, or the bathroom has been in regular use and surfaces are still damp.
Exposing fresh caulk to water before it has fully cured.
Why it happens: Many people assume caulk is ready once it looks dry to the touch, which typically happens within an hour or two—well before the material has actually cured.
Leaving a rough, unsmoothed bead that traps dirt and peels early.
Why it happens: Smoothing the bead requires a steady hand and a finishing tool or dampened finger, and many people skip it assuming the caulk will settle on its own.
~$6,000
Median bathroom water damage repair cost
The Insurance Information Institute reports that water damage and freezing claims are among the most common and costly for homeowners, with bathroom leaks being a frequent contributor.
24–48 hrs
Typical silicone caulk cure time before water exposure
Most silicone caulk manufacturers specify a minimum cure window of 24 to 48 hours before the sealed surface should be exposed to water or humidity.
Getting It Right: A Simple Framework Before You Start
Successful caulk application comes down to three conditions: a clean, dry surface; the right product for the location; and enough undisturbed time to cure fully. Meeting all three consistently is what separates a seal that lasts years from one that peels within weeks.
Don't Caulk Over Mold or Damaged Substrate
If you notice dark staining, soft drywall, or persistent musty odor behind an area of failed caulk, do not simply re-caulk over it. These are signs of potential mold or structural damage that require professional assessment before any sealant is reapplied. Sealing over an active moisture problem traps the damage inside and can make remediation significantly more costly.
Before beginning any recaulking project, inspect the underlying surface carefully. If the drywall feels soft, the grout is crumbling, or there's visible staining that doesn't come off with a household cleaner, those issues need to be addressed first. Caulk is a maintenance material, not a repair for damaged substrates.
For gaps and drafts in other parts of your home, it's also worth understanding when caulk is the right tool versus alternatives. Our guide on choosing between caulk and weather stripping covers when each approach makes the most sense. And remember: small maintenance tasks left undone tend to grow—a principle that applies well beyond the bathroom, as illustrated in our overview of why skipping small repairs leads to bigger problems.

Author
Home & Garden Editorial Team
Home & Garden Editorial Team is the collective byline for our editorial team and contributor network. Articles published under this byline or an editorial pen name are researched, written, and reviewed according to our editorial standards for clarity, consistency, and independence before publication.
View all articles →